Hi everyone! I'm sick of being sick at home!!! On that note, I felt inspired and decided to bring you a FABULOUS tutorial today.
With the Tin of Cards kit being so successful that it's sold out, and a lot of requests at the farmer's market, I decided to design my own.
It's not a paper saving set, but I have never been much concerned with this as it stifles my creativity. I don't like limitations! You need 3 sheets of paper for this, and can make the box for 3.5 x 5" cards or the standard 4 1/4 x 5.5" cards. The choice is yours, however, you need 12" card stock to make the larger size, and I didn't have any current 12" card stock (in fact, mine is so old it's still the Bazzil style textured cs!) so I made a smaller version for littler cards (that uses standard 11" x 8 1/2" paper). It's really cute:
So let me give you some dimensions to cut your sheets of paper.
For the smaller box, cut 2 sheets at 6 3/4" x 11" and cut one sheet at 7 5/8" x 4 7/8".
For the larger box, cut 2 sheets at 8"x 12" and one at 7 1/8 x 5 1/8.
Note to perfectionists like me: I will tell you now, the last measurement for each box is the lid. I'm not going to lie, the lids have been tricky. I have never had trouble with my old scoring device (it created a very thin sharp line), but the SU scoring tool scores very wide and for this reason, the lids seem to always be finicky. They are either too small or too big, with a difference of just 1/16" in scoring! If you are NOT using the SU scoring plate, I suggest you cut at 7 9/16" x 4 13/16" or 7 1/16" x 5 1/16" for the larger box.
If you cut with SU Simply Scored (Which I do absolutely love) then cut the larger size and be prepared to cut the other half of that sheet of paper in a smaller size to fit if needed. I'm just telling you now because I had to do this twice and the only difference I can account for it the scoring method. I do love my simply scored tool, I think its fantastic--its just something you need to be aware of.
So--enough perfectionism--on to the project!
Score your lid at 1" on each side.
Score your box pieces at
(for 3.5 x 5) 2 3/4" and 8 1/4"
(for 4.25 x 5.5) 3" and 9"
Pretty simple stuff.
Stamp it all over with Versamark and add your embossing powder. I am using a stamp from Choose Happiness.
The finished heat embossed pieces. Notice on the bottom one I didn't stamp the box bottom. I'm almost out of white embossing powder and you aren't going to see it anyway.
So you now have 2 matching pieces. Make 2 straight cuts as above in the picture. This is where I realize I didn't photograph the lid as I was cutting/gluing. Oops, more on that debacle later!
Pick which piece will be the front, because you want to glue and layer so the seams are on the back edges of the sides. Glue up an edge. I'm using some crazy xtreme glue stick my kids brought home from school. Small town, glue sucks here!
Layer one side over the other and adhere, pressing firmly. It will look as below when overlapped.
Now I folded the box flat to glue the next side. I just folded the flap over and pressed it down.
Now glue the 2 bottom flaps thoroughly so the box is firm on the bottom.
Press it against the back flap.
Add glue to the bottom of the box and press the front flap flat (sheesh!) against the box.
From the inside, press down on the flaps well so it all glues nicely.
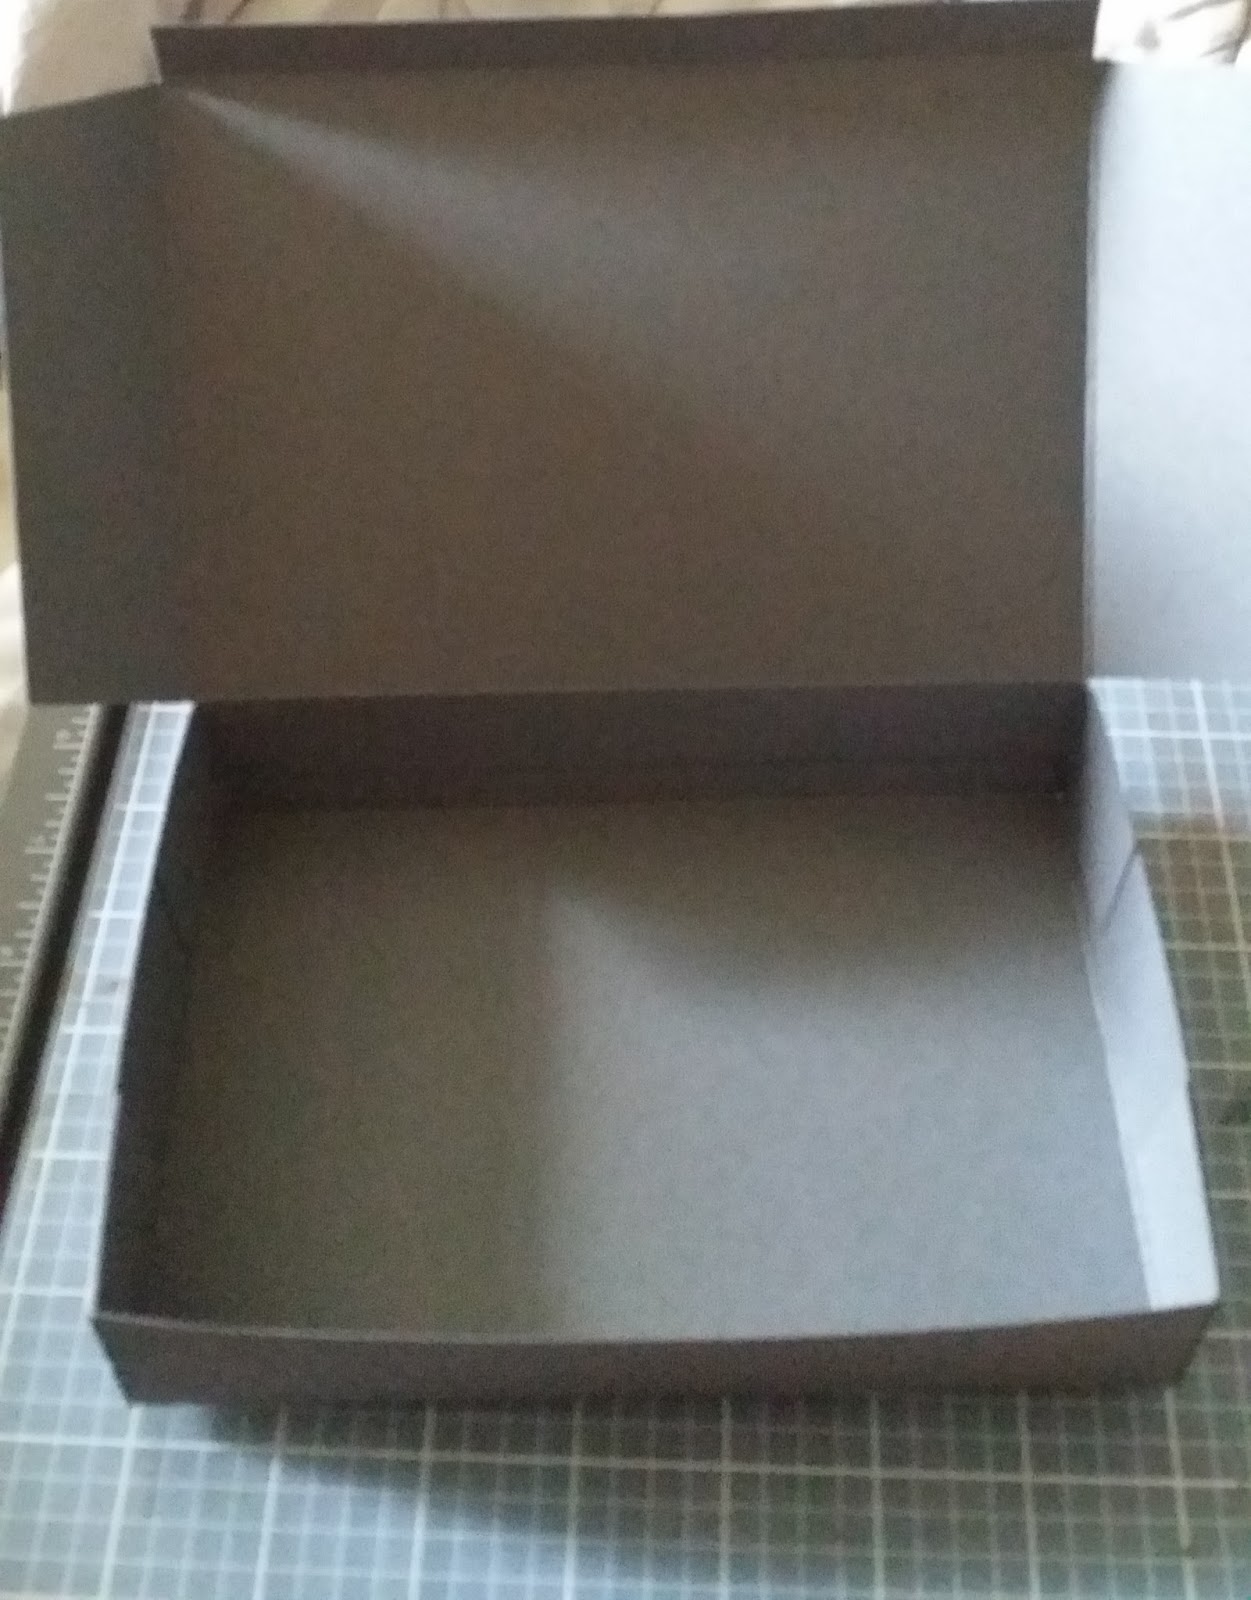
Ta da, it's ready to decorate. But wait, I didn't tell you how to make the lid!!!
Haha--I amaze myself sometimes. Ok, looking at the lid paper as it is positioned on the box in this photo, cut 2 slits on each side to the score line, front of paper edge toward back of box (I hope this makes sense). If you screw it up and cut the narrow sides, it's not a big deal--you'll just see the seams from the front (in this way, you don't). Glue the tabs down and it's done.
This is where you now test the fit of your lid before you continue on. If it doesn't fit, adjust the cut according to the issue and start over. (make it bigger or smaller!)
Now it's time to get creative. I used sticky strip and started to use glue dots--which you totally can for the next parts--but a glue gun is so much easier! I would still use the sticky strip for this next part (so you don't glue and burn your fingers) but jump to the glue gun next if you have one.
So sticky strip the whole box front edge, right along the lip.
Using seam binding, hand gather by pressing loosely onto the strip. Only peel off a bit of the red at a time--do yourself a favor!
This is where the glue guns gets handy. Hot glue the sequin trim down, all the way around the box. Notice in both the above pictures that I start at the back of the box. If you're new to boxing, this is useful advice. Everyone else--just ignore me!
Now I drag out my fun bits. in this case, vintage SU copper twine (so old!!!), sahara lace trim, pretty flowers from Michaels (I was going to make paper flowers with a punch and you can too--I just liked these better) and then all my embellishments, since I didn't know what I was going to come up with at the time. Layer the flowers/embellishments the way you want them and hot glue them down however makes you happy.
I glued my lace down in a rough circle, bunching and gathering to create a nice shape, then glued down the copper twine and then glued the flowers on top.
Now cut your file tabs. For the small box, I cut them 4" x 5 3/8" then ran them through the big shot with the file tabs edgelits.
The files fit perfectly and are ready for stamping and adding cards!
A view from the front:
And a view from the top:
The smaller box is 2 3/4" deep and the larger one is 3". The size is really bound by the paper. Because of the way the paper is layered and glued, the box is very strong. I really like it, I'm excited to offer it to my class as a project whenever I'm feeling better. And, I can sell them at the markets when people ask for card boxes. I'm thinking of filling this one with about 10 sweet little cards in pink pirouette, crumb cake and whisper white with treat bag envelopes. That will be so adorable!
Anyway, thanks for dropping by and I hope you enjoyed! Please do let me know if you have any questions or difficulties. My mind is a bit off since I *still* have this fever, and it's possible there's an error somewhere!
Have a wonderful Sunday!
~Weezie